
Last updated October 9, 2026
Free roof inspection with deck photos before we talk money - GAF and Owens Corning certified installation
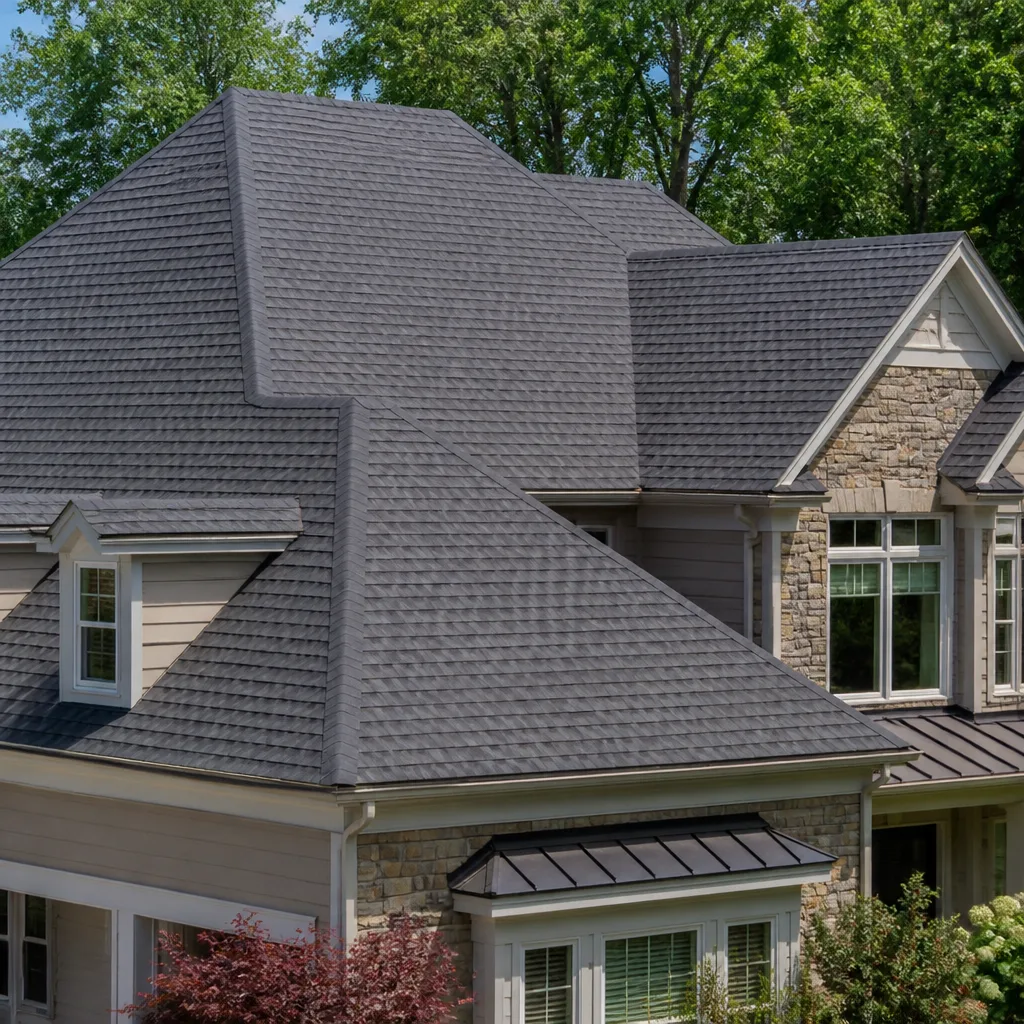
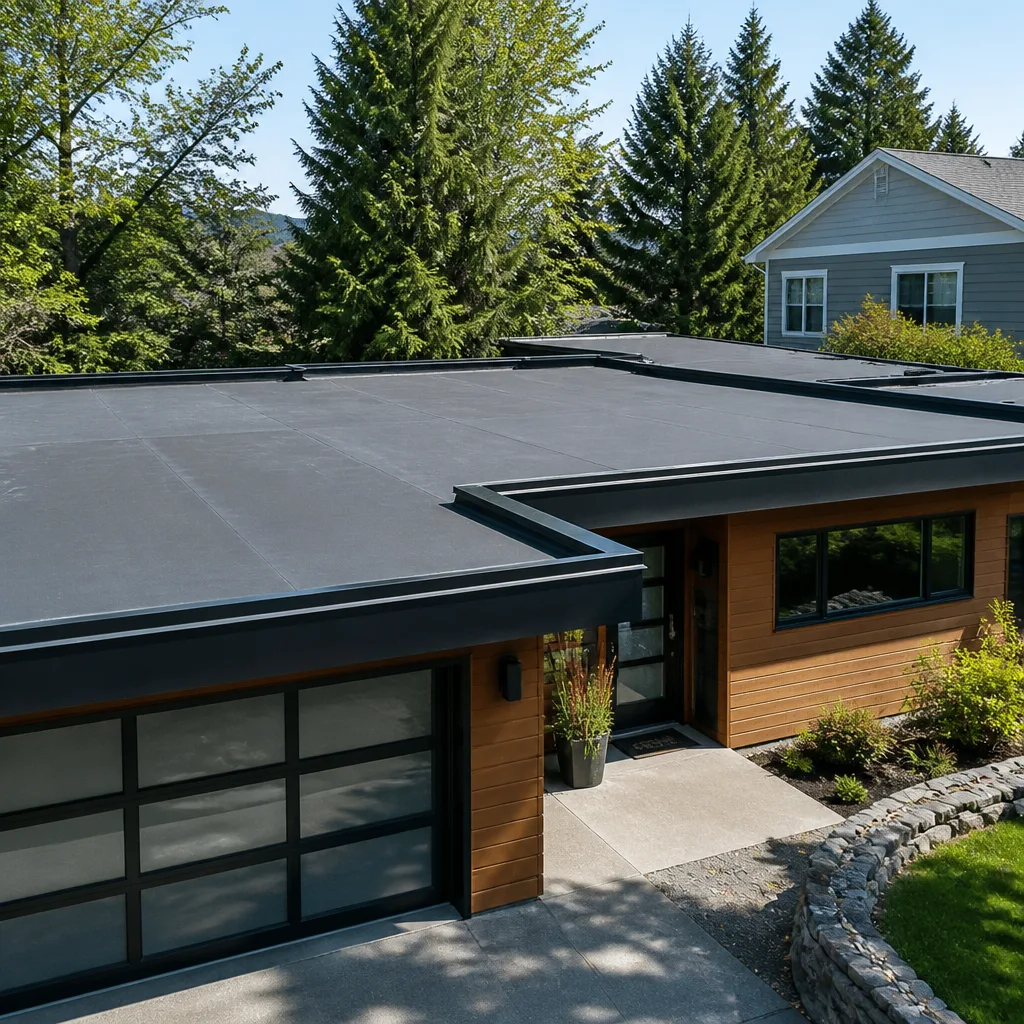
 Before
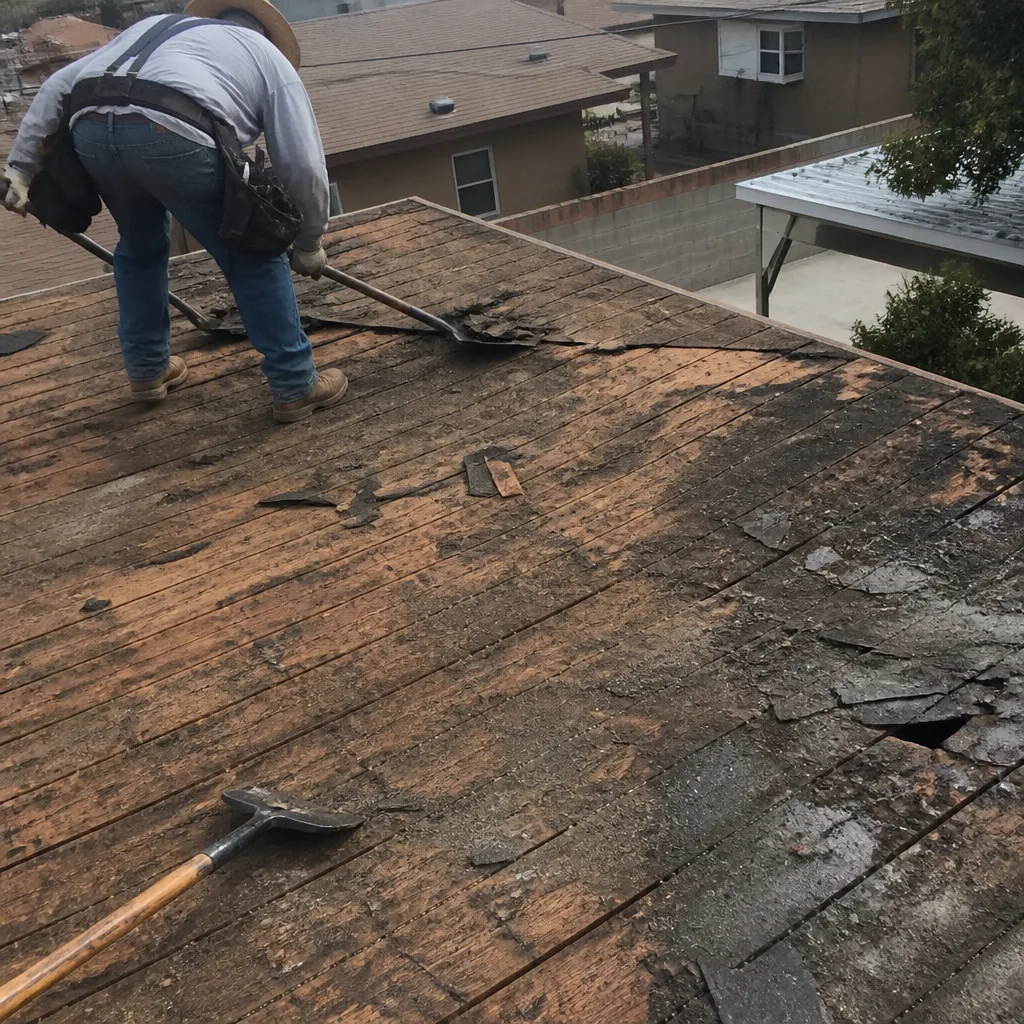
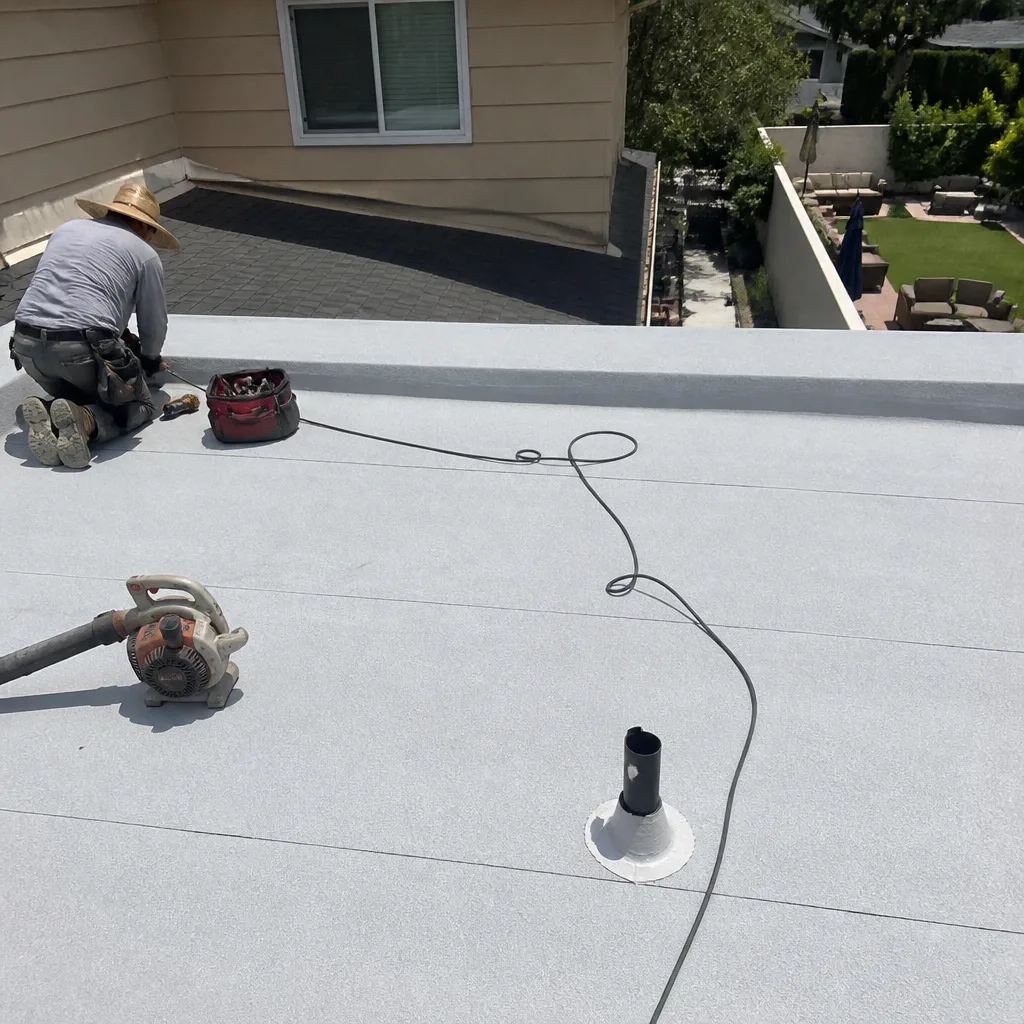 After
After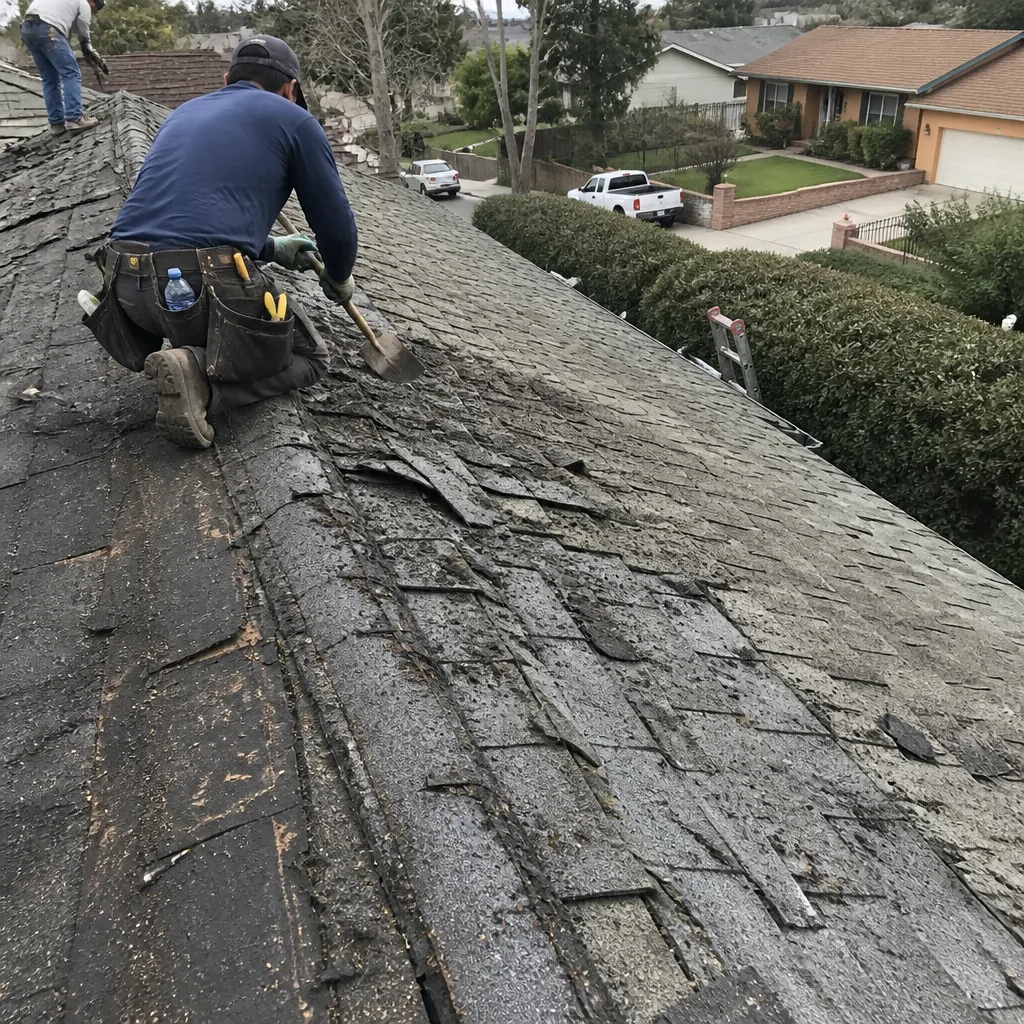 Before
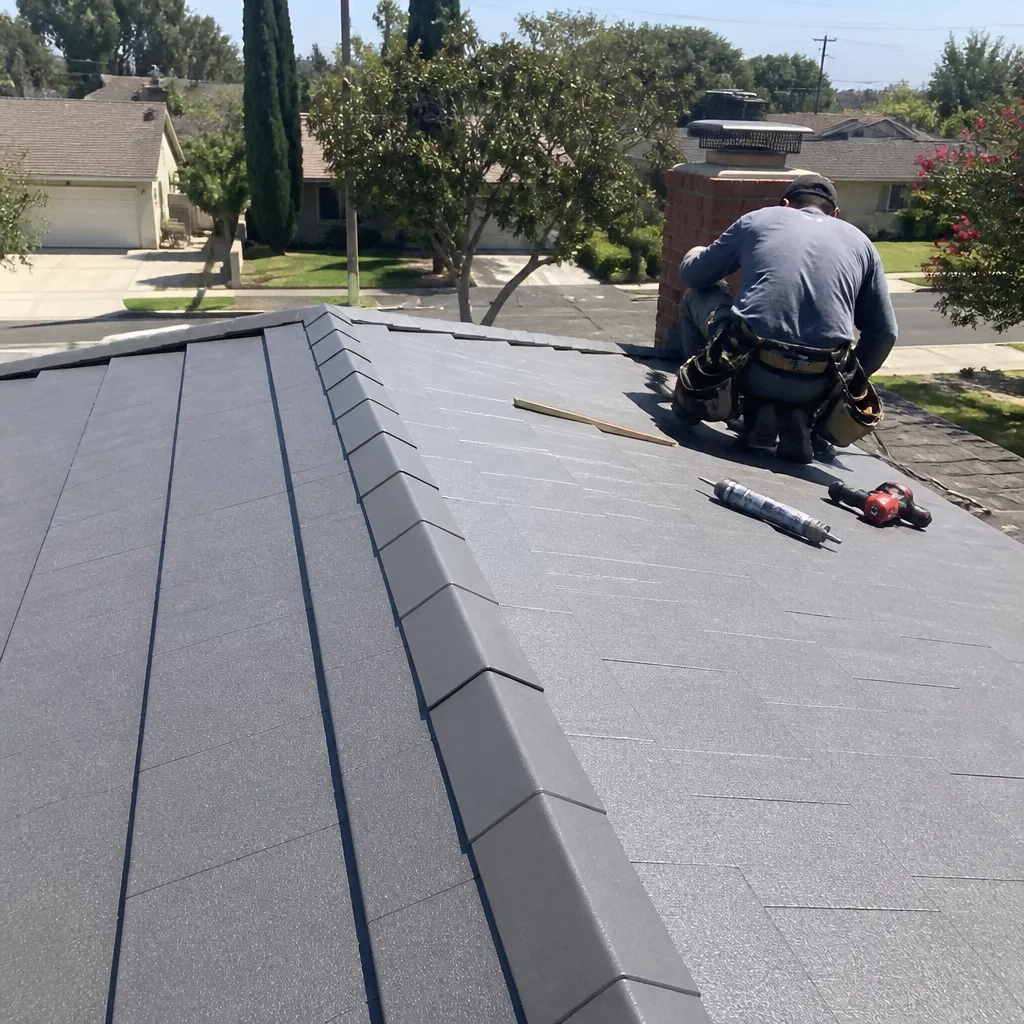 After
After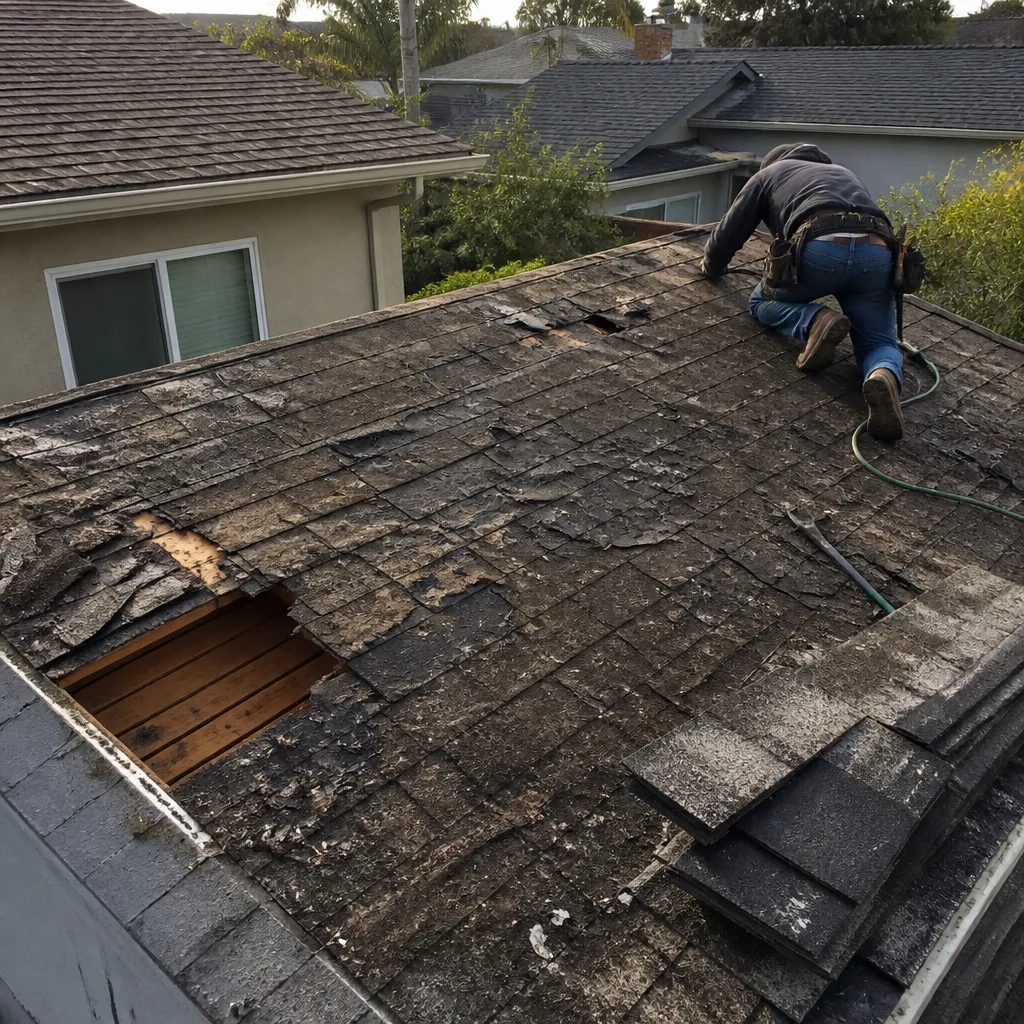 Before
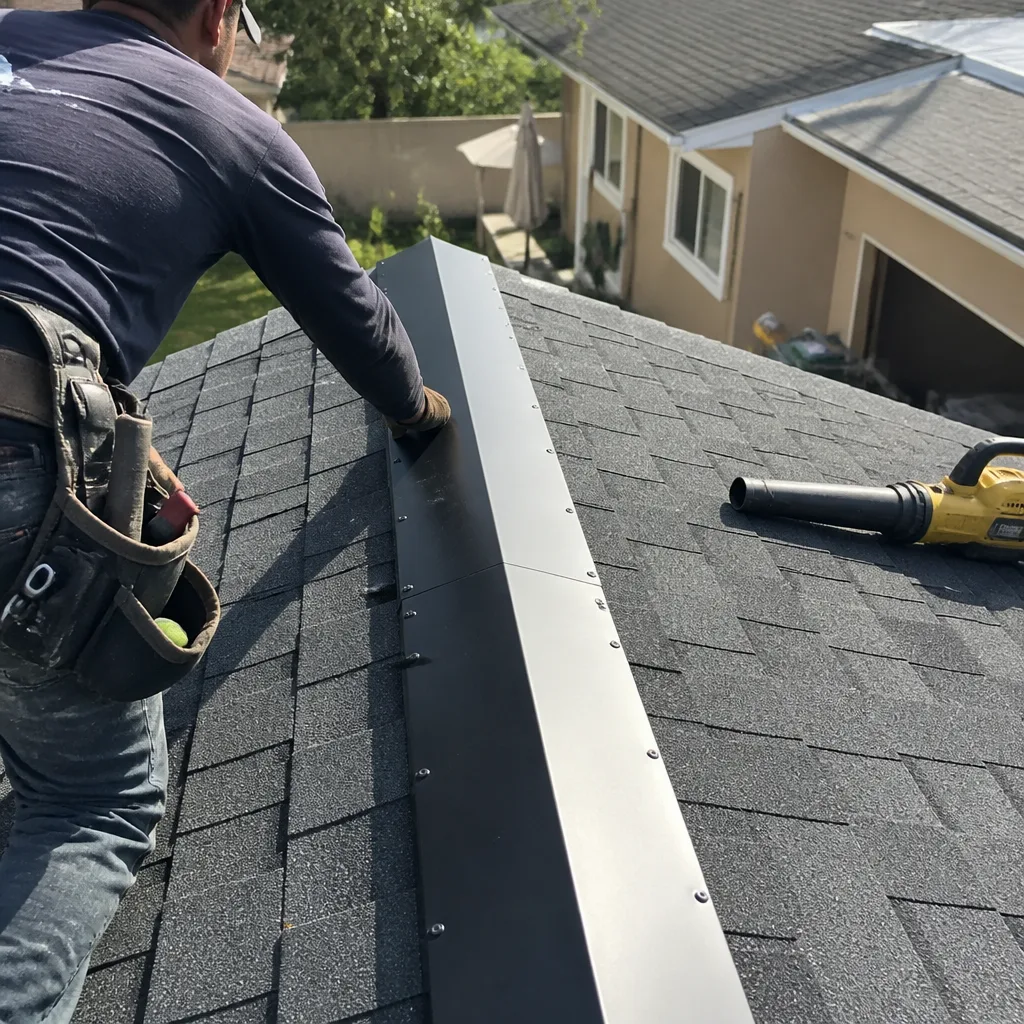 After
AfterRoof Installation Troubleshooting: Common Problems and How to Fix Them
Here’s a number that should make every Los Angeles homeowner pause: over 70% of premature roof failures trace back to installation defects, not weather events. A roof that leaks in January wasn’t necessarily damaged by the rain. It was likely compromised the day the crew packed up and left. The good news is that most installation errors show visible symptoms within the first 30 days, and knowing what to look for from the ground can save you tens of thousands of dollars in repairs. This guide walks you through the five most common installation mistakes, what they look like, how to document them, and what to do if you find them. For professional help, consider our Roof Installation services.
Quick Answer
Most roof installation problems appear within the first 30 days as visible symptoms: lifted shingles, uneven shingle lines, exposed fasteners, poor flashing work, or improper drip edge alignment. Learn about Roof Installation Warning Signs Every Homeowner Should Know to catch these early. Fixing them starts with documenting what you see, reviewing your workmanship warranty, and calling the contractor for a callback. If the contractor won’t respond, escalate through the CSLB and small claims court.
Table of Contents
- The 30-Day Post-Installation Checklist
- The Five Most Common Installation Errors and How to Spot Them
- How to Document Problems for a Warranty Claim
- Manufacturer Defect vs. Workmanship Defect: Which Warranty Covers What
- The Escalation Path: From Callback to Small Claims Court
- Los Angeles-Specific Installation Risks
- Common Mistakes to Avoid
- When to Call a Professional
The 30-Day Post-Installation Checklist
You don’t need to walk on your roof to catch most installation errors. In fact, we recommend staying off it entirely. From the ground or an upstairs window, you can see about 85% of what matters in the first month after installation. Here’s what to check, week by week.
Week 1: The Day the Crew Leaves
- Walk the perimeter. Look at the roofline from the street. Shingle rows should run straight and parallel. Wavy or uneven lines suggest the decking underneath is warped or the shingles weren’t properly aligned.
- Check the drip edge. Along the eaves, you should see a metal strip extending slightly beyond the fascia board. If shingles hang over by more than 3/4 inch or don’t hang over at all, water will eventually find its way behind the gutters.
- Look at flashing. Anywhere the roof meets a wall, chimney, or skylight, you should see metal flashing that’s actually visible. If it’s painted over, caulked instead of metal, or missing entirely, that’s a red flag.
Week 2: After the First Rain or Lawn Watering
- Check the attic. On a sunny day after rain, go into your attic with a flashlight. Look for water stains on the underside of the decking, damp insulation, or daylight visible through gaps. In Los Angeles, we often skip the attic check because rain is rare, but even sprinkler overspray can expose poor sealing.
- Inspect gutters. After any water event, check gutters for excessive shingle granules. Some granule loss is normal in the first weeks, but a thick layer of granules in the gutter suggests shingles were damaged during installation or are defective.
Week 3-4: Settling In
- Scan for lifted shingles. From the ground, look for any shingles that appear raised, especially near the edges. Wind uplift in the first month often exposes inadequate nailing patterns.
- Check roof penetrations. Look at vent pipes, exhaust fans, and any other pipes coming through the roof. Each should have a rubber boot or metal flashing collar that sits flush, not tilted or cracked.
- Verify ventilation. Walk to the eaves and check that soffit vents are not blocked by insulation or debris. In Los Angeles, attic temperatures can hit 140°F in August, and blocked ventilation will cook your shingles from underneath.
The Five Most Common Installation Errors and How to Spot Them
In our experience across Los Angeles homes, from Westchester bungalows to Granada Hills ranch houses, five installation errors account for the majority of premature roof failures. Here’s what each looks like from the ground and why it happens.
1. Improper Flashing Overlap
Flashing is the metal material that directs water away from roof joints. Step flashing along a wall should be woven between each shingle course, not nailed flat against the wall with no overlap. When a contractor overlaps flashing incorrectly, water runs behind it instead of over it. From the ground, look for flashing pieces that appear too short, too sparse, or visibly separated from the wall. If you can see a gap between flashing and the wall surface, that’s a leak waiting for the next rain.
2. Insufficient Ventilation
A well-ventilated roof needs intake air at the eaves and exhaust air at the ridge. When a contractor installs a new roof without verifying or improving ventilation, especially on older Los Angeles homes built before modern ventilation codes, the attic becomes an oven. This is often invisible to the homeowner for months because the damage happens from underneath. Warning signs include rooms that feel noticeably hotter after the new roof, higher AC bills in summer, and shingles that look wavy or buckled from the ground.
3. Misaligned Drip Edge
The drip edge is a metal profile that runs along the roof perimeter and directs water into gutters. When installed too tight against the fascia or missing entirely along the rake edges, water wicks back under the shingles. In Los Angeles, where most homes have stucco exteriors, this problem often shows up as water staining on the upper walls below the roofline. Look for dark streaks or paint bubbling just under the eaves.
4. Inadequate Nail Pattern
Shingles need to be nailed in a specific pattern, typically four nails per shingle in the correct locations, with an additional two nails in high-wind zones. Los Angeles code requires six nails per shingle in many areas due to Santa Ana wind conditions. Too few nails, nails placed too high on the shingle, or nails driven at an angle can cause shingles to slip or blow off. You’ll spot this from the ground when shingles appear misaligned after a windy week, or when you find shingles in the yard.
5. Skipped Underlayment Sealing
Underlayment is the water-resistant barrier between the decking and the shingles. In the areas around roof penetrations like vents, skylights, and chimneys, underlayment must be sealed to create a continuous water barrier. When a contractor cuts corners here, the shingles might look flawless from the street, but water enters around the penetration during the first heavy rain. The first sign is almost always a ceiling stain directly below the penetration.
How to Document Problems for a Warranty Claim
If you spot any of the issues above, documentation is your strongest leverage. Homeowners who document thoroughly are far more likely to get their contractor to return and fix the problem without a fight. Here’s the exact process we recommend to Los Angeles homeowners.
- Photograph immediately. Use your phone, but don’t zoom. Stand where the problem is visible and take wide shots first, then close-up shots. Wide shots establish location; close-ups show the defect.
- Enable timestamps. On iPhone, use an app like Timestamp Camera. On Android, most cameras have a timestamp setting. If you can’t timestamp the photo itself, save the photo file and screenshot the file info showing the date.
- Photograph metadata. After taking photos, open the photo details and screenshot the date and time. This creates a secondary timestamp record.
- Write a contemporaneous note. In a notebook or a note app, write what you see, the date, and the weather conditions. A note written the day you noticed the problem carries far more weight than a summary written three months later.
- Send everything to the contractor in writing. Email or text the photos and your note. This creates a written record with a date stamp that a voice call cannot provide.
One more thing worth knowing: If the problem is active, like an active leak during rain, document it during the rain event and again 24 hours later. The contrast between “leaking during rain” and “stained after the rain” helps distinguish between a drainage issue and an absorption issue, which matters for warranty claims.
Manufacturer Defect vs. Workmanship Defect: Which Warranty Covers What
Understanding this distinction can save you months of frustration. There are two separate warranties on most roofs: the manufacturer’s material warranty and the contractor’s workmanship warranty. They cover different things, and knowing which to invoke matters.
Manufacturer’s Material Warranty
Manufacturers like Owens Corning, IKO, and Atlas warrant their shingles against manufacturing defects, which appear as premature granule loss, curling, or cracking that is not related to installation. The manufacturer covers the shingles themselves, sometimes including replacement shingles and occasionally a labor allowance, but they explicitly do not cover installation errors. If a shingle fails because it was nailed incorrectly, Owens Corning will deny the claim and point back at the contractor.
Contractor’s Workmanship Warranty
The workmanship warranty covers how the roof was installed. This is where the five errors above live. Flashing overlaps, ventilation, nail patterns, and drip edge alignment are all workmanship issues. The contractor’s warranty should cover both the labor and the materials needed to correct the problem. The length of this warranty varies widely. Here at Mercer Roofing, we include a written guarantee on every repair with a free second visit if the repair fails.
The key insight for Los Angeles homeowners: If you see a defect within the first year, it’s almost always a workmanship issue, not a material defect. Material defects from brands like IKO or Atlas typically take 5 to 15 years to manifest. If your roof is newer than a year and something is wrong, you should push the contractor first, not the manufacturer.
The Escalation Path: From Callback to Small Claims Court
Most contractors are legitimate and will return to fix mistakes. But if yours won’t, you have a path. Here’s how it works in California, with realistic timelines.
- Formal callback request (Day 1-7). Send a written request, via email or certified mail, with photos and a clear description of the problem. Reference your workmanship warranty. Give the contractor 7 days to respond. Most fixes happen at this stage.
- CSLB complaint (Week 2-4). If the contractor doesn’t respond, file a complaint with the California Contractors State License Board. The CSLB will investigate and can compel mediation or discipline the license. Expect 4 to 8 weeks for resolution. This is the most effective tool for convincing a reluctant contractor to return.
- Small claims court (Month 2-6). In California, small claims court handles disputes up to $12,500. You don’t need a lawyer. Gather your documentation, the original contract, the written warranty, photos, and communications, and file a claim in Los Angeles County. Hearings typically happen within 30 to 70 days of filing.
Timeline summary: If the contractor is reachable, most problems are resolved within 30 days. If you need to involve the CSLB, plan for 2 to 3 months. Small claims court is a 3 to 6 month process. Document everything from day one.
Los Angeles-Specific Installation Risks
Los Angeles presents installation challenges that contractors from other regions often miss. Our climate is not like the rest of the country, and a roof installed here needs to be built differently.
The number one Los Angeles-specific risk is Santa Ana wind. In the fall, wind gusts in areas like Porter Ranch, Sylmar, and the San Fernando Valley regularly exceed 60 mph. A roof nailed with four nails per shingle may not survive the first Santa Ana event, which is why many LA area inspectors now require six nails per shingle and enhanced perimeter nailing. If you’re getting bids, ask specifically about Santa Ana wind resistance.
The second risk is thermal shock. Los Angeles roofs go from 45°F winter nights to 100°F summer afternoons, a temperature swing that expands and contracts roofing materials at different rates. This is especially hard on flashing and seals, which crack over time if not properly installed with movement in mind. This is also why ventilation is not optional here. An unventilated attic in a Los Angeles summer can hit 150°F, degrading shingles from underneath and voiding manufacturer warranties.
Finally, there’s the marine layer in coastal neighborhoods like Venice and Playa del Rey. Constant moisture from fog keeps roofs damp for hours each morning, which accelerates algae growth and deteriorates underlayment faster than in dry inland areas. A Los Angeles roof installation should account for all three of these forces, and a good contractor will talk about them without being prompted.
If you’re looking for a roof installation in Los Angeles that accounts for these local conditions, we’d be glad to walk you through what we do differently.
Common Mistakes to Avoid
- Ignoring the roofline from the street. Most homeowners only look at their roof when something leaks. By then, the underlying problem has been worsening for months. Walk the perimeter every week for the first month after installation.
- Accepting “that’s normal” without proof. Some contractors minimize obvious defects by claiming granule loss, wavy shingles, or lifted edges are normal. They aren’t. If something doesn’t look right, get a second opinion from a roofing company in Los Angeles that isn’t the installer.
- Skipping the attic check. Attic inspection is the single most reliable way to confirm a roof is performing. We see too few Los Angeles homeowners do this, often because the attic is hot, cramped, or used for storage. Make the effort, especially after rain.
- Not saving the contract and warranty documents. When a problem appears, you need the original scope of work and the warranty terms. Keep both in a dedicated folder, digital and physical.
- Waiting too long to document. Photos taken the week you notice a problem are far more persuasive than photos taken six months later. Document immediately, even if you plan to wait before taking action.
- Letting a contractor “patch” a new roof. If a roof is less than a year old and needs a patch, that’s a sign of poor installation. A patch on a new roof is a band-aid, not a repair. Push for the underlying issue to be addressed.
When to Call a Professional
Some roof problems are safe to monitor from the ground. Others need a professional immediately. Call a qualified roofer if you see water stains on interior ceilings, daylight visible through attic decking, shingles sliding off in clusters, or any visible sagging in the roofline. If you’re unsure whether a problem is cosmetic or structural, get a professional inspection. The cost of an inspection is trivial compared to the cost of waiting. Roof repair in Los Angeles is often less expensive when issues are caught early. Mercer Roofing offers free estimates in Los Angeles, call (743) 200-8347.
Frequently Asked Questions
The most common roof installation problems are improper flashing overlap, insufficient ventilation, misaligned drip edge, inadequate nail patterns, and skipped underlayment sealing. Each of these is visible from the ground or from an attic inspection within the first month after installation, and each can lead to leaks and premature roof failure if not corrected. Call (743) 200-8347 for a free estimate on correcting any of these issues.
You should inspect the roof within the first week, again after the first rain or heavy watering, and weekly through the first month. Most installation defects show symptoms quickly, and catching them within the first 30 days makes warranty claims and contractor callbacks significantly easier.
Installation errors appear within the first year and are visible as misaligned shingles, exposed flashing, or water intrusion around penetrations. Material defects typically take 5 to 15 years to manifest and show up as premature granule loss, cracking, or curling that is not related to how the shingle was nailed. If the roof is under a year old, it’s almost always installation error. Call (743) 200-8347 for a professional assessment.
Yes, if the leak is caused by a workmanship error, the contractor’s workmanship warranty should cover the repair. Manufacturer warranties cover material defects but not installation mistakes. Review your written warranty terms. Here at Mercer Roofing, every repair includes a 365-Day Done Right Promise with a free second visit if the repair fails.
Fixing a roof installation problem in Los Angeles typically costs between $300 and $2,500 depending on the issue. Flashing corrections and drip edge realignment usually run $300 to $800, ventilation improvements $800 to $2,000, and full re-nailing $1,500 to $2,500. If the original contractor is still in business, these repairs should be covered under your workmanship warranty.
If your roofer won’t respond to a written callback request, file a complaint with the California Contractors State License Board, which has jurisdiction over licensed contractors in Los Angeles. If the CSLB can’t resolve the issue, you can file a small claims court case for up to $12,500. Document all communication and keep your written warranty. Call (743) 200-8347 if you need a second opinion from a licensed Los Angeles roofing contractor.
The Bottom Line
The first 30 days after your roof is installed are the most important inspection window you’ll ever have. Most installation problems are visible from the ground if you know what to look for, and most are fixable at no cost to you if caught while the workmanship warranty is active. Watch the flashing, check the drip edge, inspect the attic after rain, and document anything that looks wrong. Our Roof Repair Maintenance Checklist for Los Angeles Homeowners can help you stay organized. If you don’t, that small issue you noticed in week two could become a five-figure repair in year two. Los Angeles homeowners deserve certainty about what’s over their heads, which is why every Mercer Roofing job starts with a written price and ends with a written guarantee.
Written by Grant Whitlock, Owner at Mercer Roofing, serving Los Angeles since 2000.